Defining Routes
We recommend reading the Routing Fundamentals ↗ page before continuing.
This page will guide you through how to define and organize routes in your Next.js application.
Creating Routes
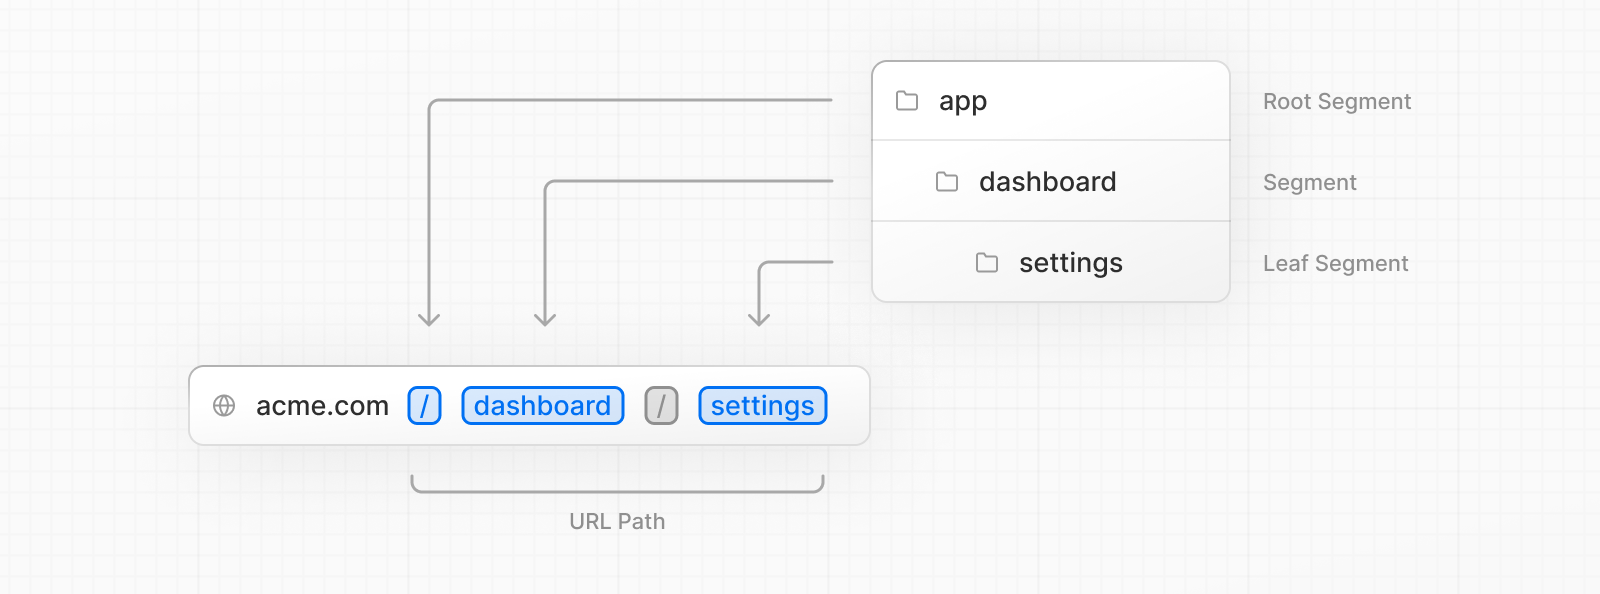
Next.js uses a file-system based router where folders are used to define routes.
Each folder represents a route segment ↗ that maps to a URL segment. To create a nested route ↗, you can nest folders inside each other.


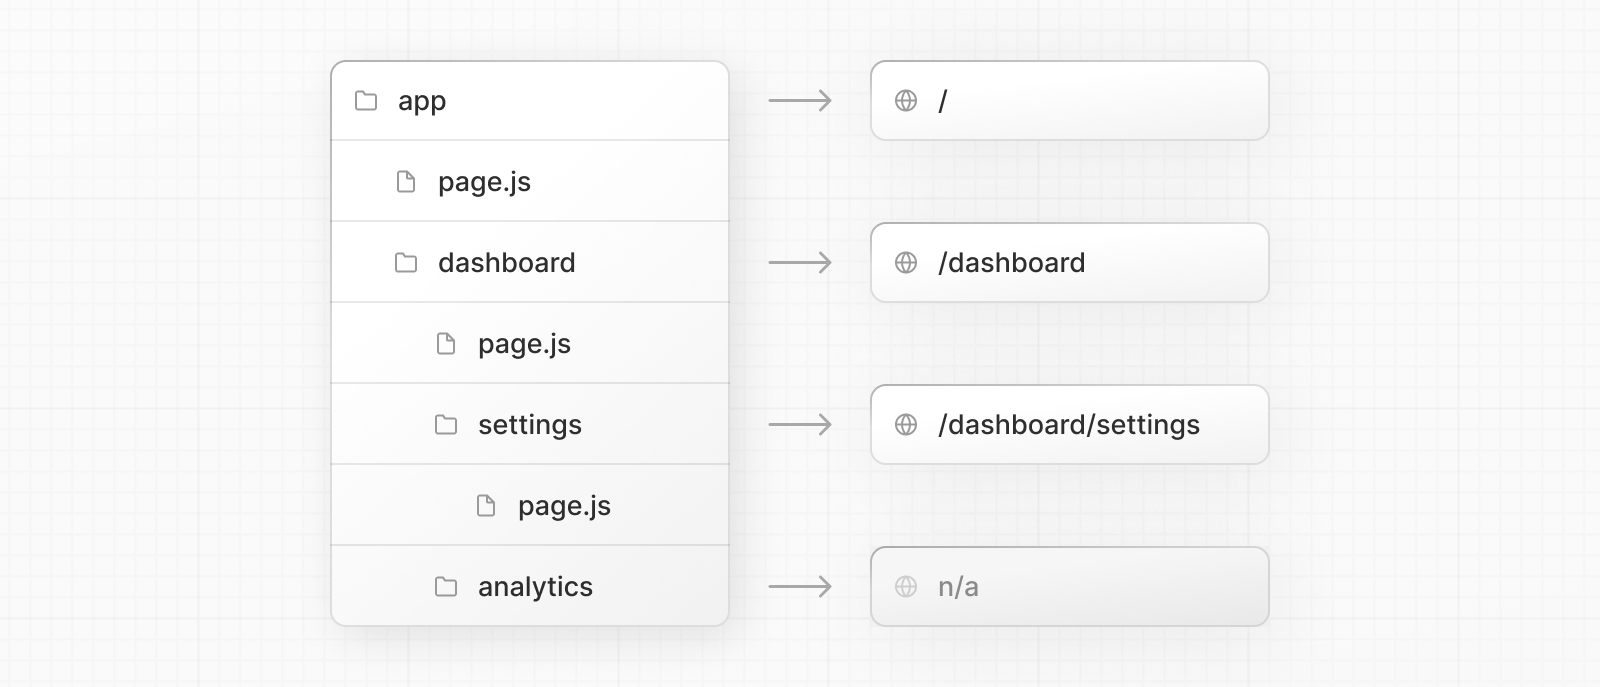
A special page.js file is used to make route segments publicly accessible.


In this example, the /dashboard/analytics URL path is not publicly accessible because it does not have a corresponding page.js file. This folder could be used to store components, stylesheets, images, or other colocated files.
Good to know:
.js,.jsx, or.tsxfile extensions can be used for special files.
Creating UI
Special file conventions are used to create UI for each route segment. The most common are pages to show UI unique to a route, and layouts to show UI that is shared across multiple routes.
For example, to create your first page, add a page.js file inside the app directory and export a React component:
app/page.tsx
export default function Page() {
  return <h1>Hello, Next.js!</h1>
}